Your API is the backbone of your product. When it goes down — or even slows down — your customers feel it. But most teams handle outages reactively: users complain, someone checks the logs, and 30 minutes later a response goes out on Twitter. A public status page flips this dynamic. It lets your customers check API health themselves, in real time, without filing a ticket.
In this tutorial, you'll learn what makes a good status page, how to create one for free with Nurbak, and how to embed uptime badges directly in your documentation or README.
What Is a Status Page and Why You Need One
A status page is a publicly accessible page that shows the current health of your API endpoints. Think of it as a live dashboard for your customers — no login required.
Here's why every API provider should have one:
- Transparency builds trust — when customers can see uptime data themselves, they trust your service more. It signals confidence: you're not hiding anything.
- Reduced support tickets — during an outage, the first thing users do is ask "Is it just me?" A status page answers that instantly, cutting support volume by 30-50% during incidents.
- Faster incident communication — instead of writing individual responses, you update one page that reaches all affected users simultaneously.
- Competitive advantage — many APIs still don't have a public status page. Having one differentiates you as a serious, reliable provider.
- SLA accountability — if you promise 99.9% uptime, a status page proves you deliver it. It's measurable, public, and verifiable.
DIY vs Hosted Status Pages
You have two paths: build it yourself or use a hosted solution. Here's the honest breakdown:
DIY Status Page
| Pros | Cons |
|---|---|
| Full control over design and layout | You need to build and maintain it |
| No vendor lock-in | Monitoring logic is on you (cron + curl isn't reliable) |
| Custom domain by default | If your infrastructure is down, your status page may be down too |
| No monthly cost | Engineering time isn't free — what's your hourly rate? |
A DIY status page typically involves a static site (hosted on a separate provider like GitHub Pages or Netlify) that reads from an external data source. The biggest risk is that your status page infrastructure is coupled to your main infrastructure. If your server goes down and your status page runs on the same server, visitors see nothing.
Hosted Status Page
| Pros | Cons |
|---|---|
| Ready in minutes, not days | Less design control (though most offer customization) |
| Independent infrastructure — stays up when you go down | Monthly cost for premium tools |
| Includes monitoring, not just display | Vendor dependency |
| Automatic uptime tracking and history | May require migration if you switch providers |
For most teams — especially startups and indie hackers — a hosted status page is the right call. You get monitoring and display in one tool, with zero maintenance overhead.
What a Good Status Page Shows
Not all status pages are equal. A page that just says "All systems operational" with a green dot is nearly useless. Here's what a good status page should display:
- Per-endpoint status — show the health of each individual API endpoint, not just an aggregate. If
/api/paymentsis down but/api/usersis fine, customers need to see that distinction. - Uptime timeline — a visual 30-day timeline showing when each endpoint was up, degraded, or down. This gives visitors historical context, not just a snapshot.
- Overall uptime percentage — a clear number (e.g., 99.97%) that summarizes reliability over a rolling window. This is what SLA-conscious customers look for.
- Last check time — a timestamp showing when the last health check ran. This proves the data is fresh, not cached from hours ago.
- Response time indicator — even when status is "up," showing whether latency is normal or elevated helps customers understand partial degradations.
How Nurbak Provides Free Public Status Pages
Nurbak includes a public status page for every project — on all plans, including free. Here's how it works:
Step 1: Create a Project and Add Endpoints
Sign up and create a project (e.g., "Production API"). Add the endpoints you want to monitor — for example, GET /api/health, GET /api/users, POST /api/orders. Nurbak starts running health checks immediately from multiple global regions.
Step 2: Enable the Public Status Page
In your project settings, toggle on the public status page. Nurbak generates a unique, shareable URL:
https://app.nurbak.com/status/:tokenThe :token is a random string tied to your project. Anyone with the URL can view the status page — no authentication required. This makes it safe to share publicly, link from your documentation, or post in your API changelog.
Step 3: Choose What to Display
You control which endpoints appear on the status page. Maybe you want to show your public-facing API routes but hide internal admin endpoints. Configure this from the project dashboard — only checked endpoints will be visible to visitors.
Step 4: Share the Link
Your status page is now live. Visitors see:
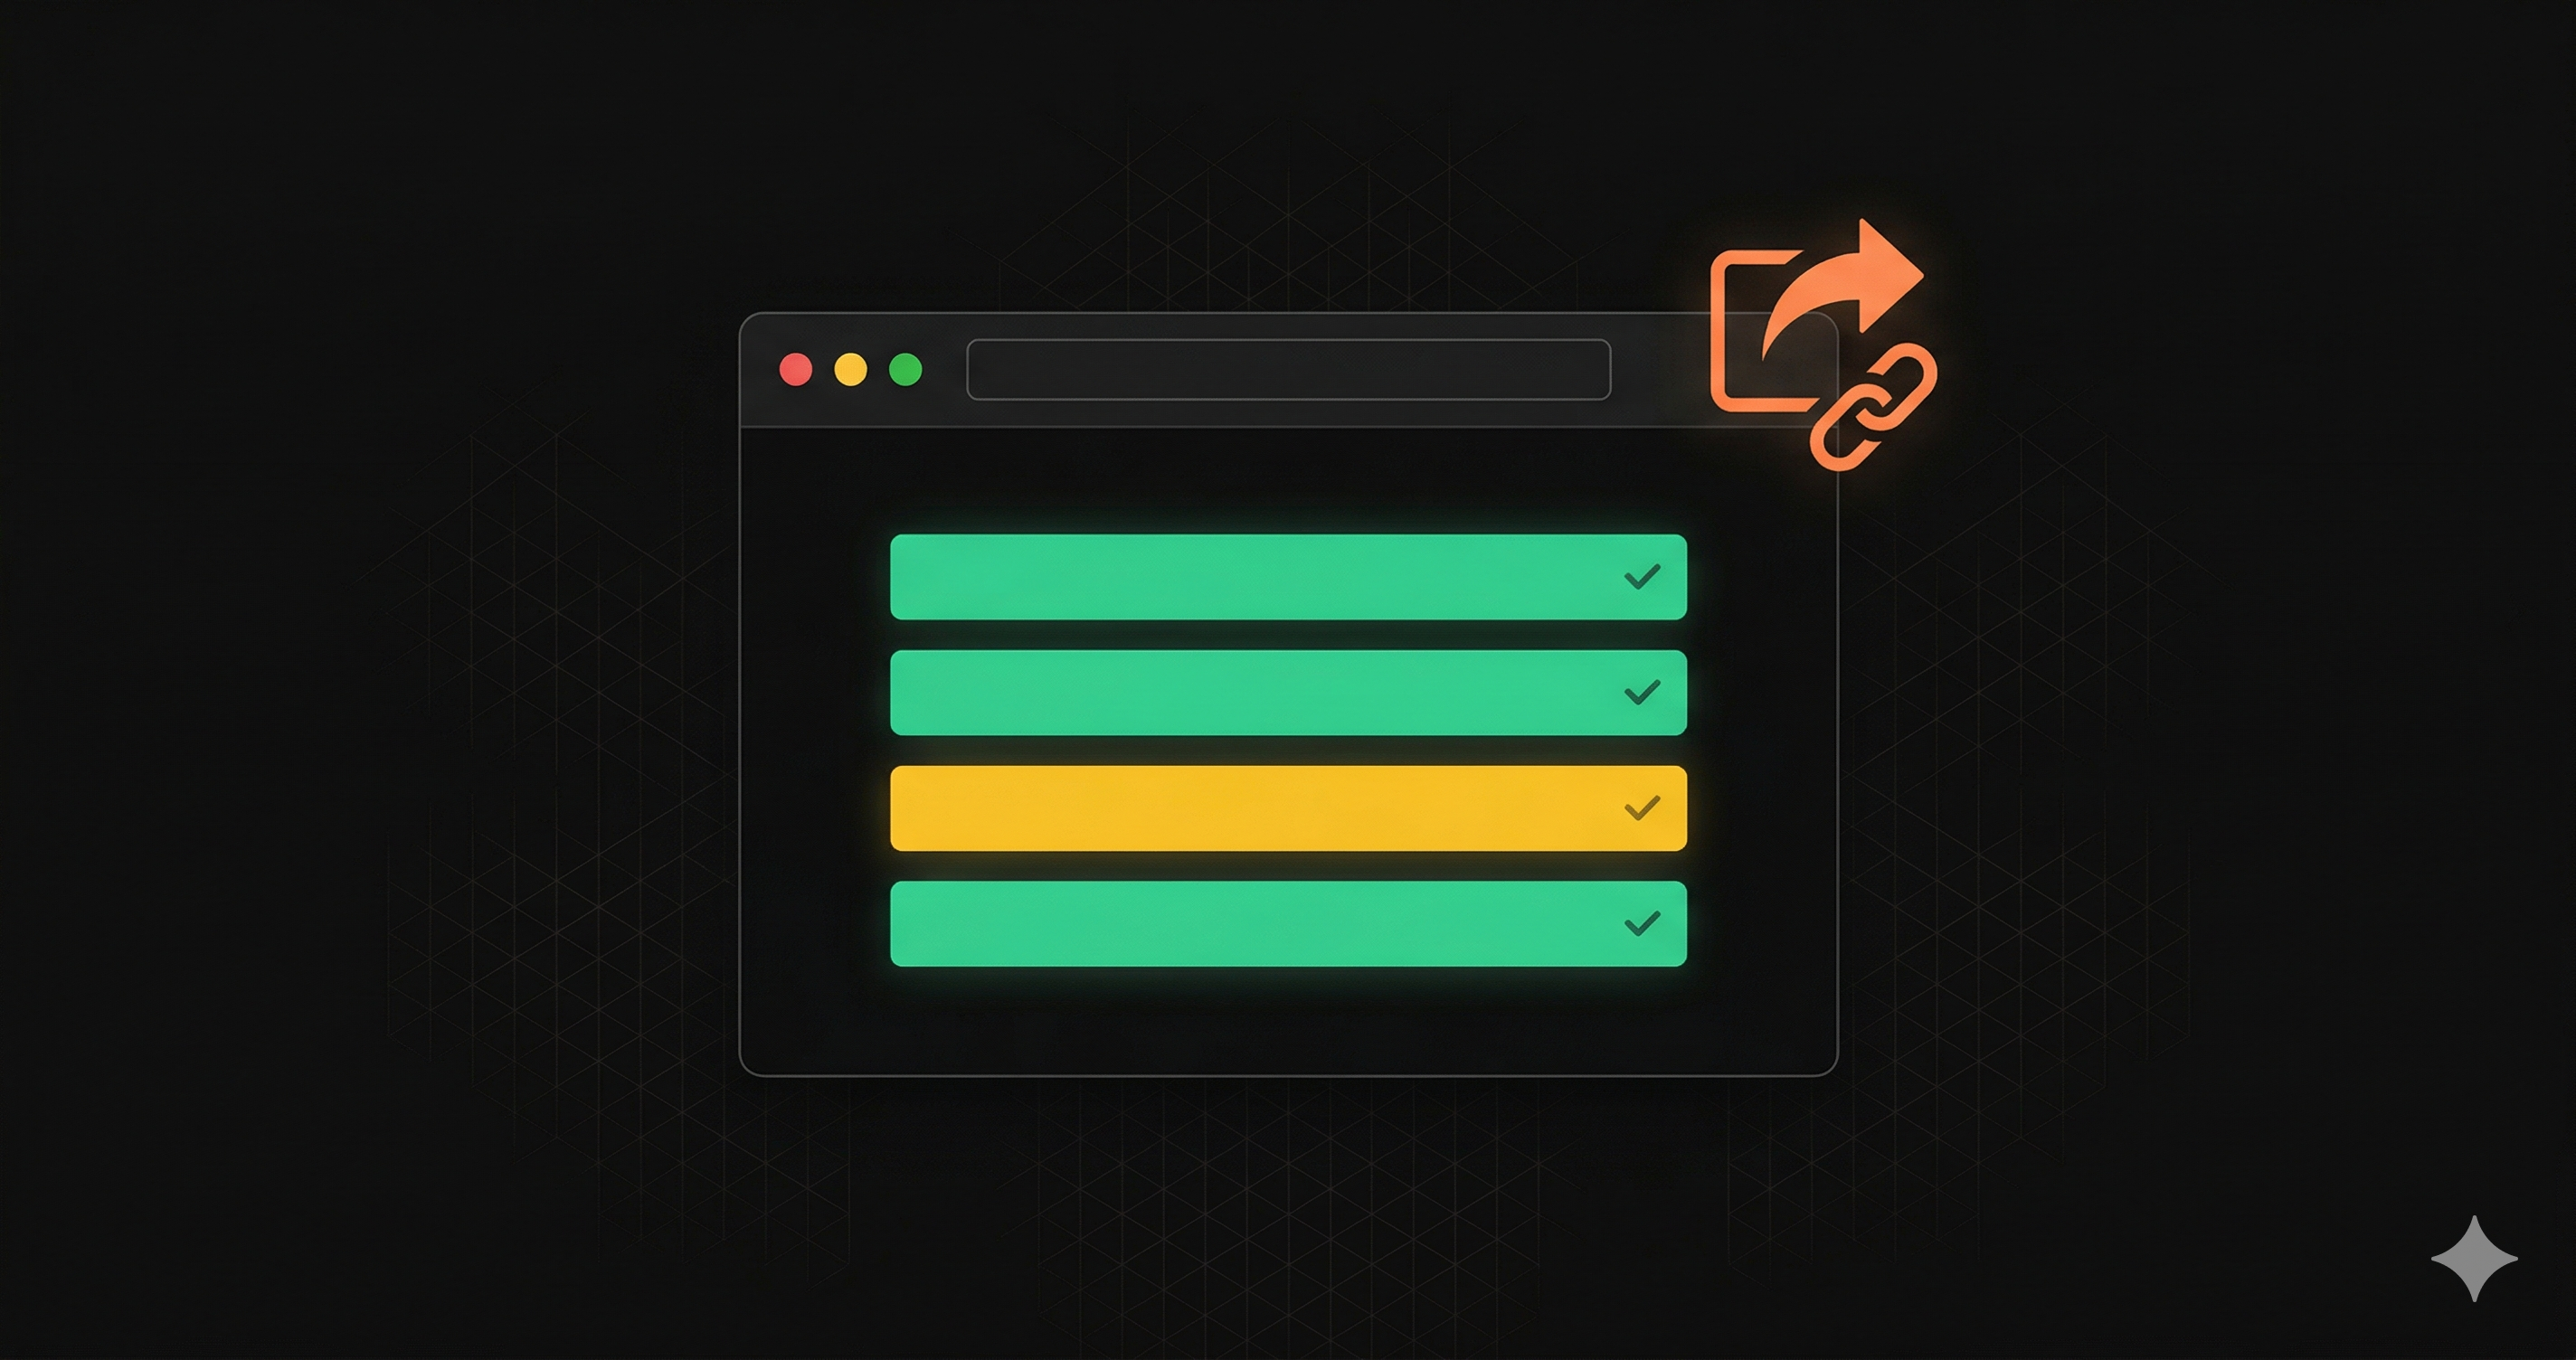
- Each endpoint's current status (up/down) with color coding
- A 30-day uptime timeline per endpoint
- Overall uptime percentage for the project
- The timestamp of the last health check
No login. No signup. Just a clean, fast page that loads in under a second.
Embeddable Uptime Badges
Beyond the status page, Nurbak provides embeddable SVG uptime badges — similar to the build badges you see on GitHub READMEs. These are perfect for showing uptime directly where developers already look.
Each badge is available at:
https://app.nurbak.com/badge/:id.svgWhere :id is the endpoint identifier. The badge is color-coded:
- Green — endpoint is up and responding normally
- Yellow — endpoint is up but latency is elevated
- Red — endpoint is down or returning errors
Badges are cached for 5 minutes to balance freshness with performance. Embed them in your:
- GitHub README — show uptime next to your CI/CD badges
- API documentation — place a live badge next to each endpoint description
- Landing page — display real-time uptime on your marketing site
- Developer portal — give API consumers instant visibility
Here's how to embed a badge in Markdown:
And in HTML:
<img src="https://app.nurbak.com/badge/your-endpoint-id.svg" alt="API Uptime" />How to Share Your Status Page with Customers
Having a status page is only useful if people can find it. Here are the most effective places to share it:
- API documentation footer — add a "Service Status" link at the bottom of your docs. Developers will look for it there first.
- Application UI — if you have a dashboard or admin panel, add a small "System Status" link in the footer or help menu.
- Onboarding emails — include the status page URL in your welcome or setup completion email. Customers remember it when they need it.
- Support auto-responses — when someone files a ticket, your auto-reply can include: "Check our live status page: [URL]". This deflects a percentage of outage-related tickets.
- HTTP response headers — add a custom header like
X-Status-Page: https://app.nurbak.com/status/:tokento your API responses. Programmatic consumers can discover it automatically.
Status Page vs Monitoring: They Complement Each Other
A common misconception is that a status page replaces monitoring. It doesn't — they serve different audiences and purposes:
| Feature | Monitoring | Status Page |
|---|---|---|
| Audience | Your engineering team | Your customers and stakeholders |
| Purpose | Detect and diagnose issues | Communicate current health |
| Detail level | Full metrics (P95, DNS, TLS, TTFB, headers) | Simplified status (up/down, uptime %) |
| Access | Authenticated, internal only | Public, no auth required |
| Alerts | Slack, email, WhatsApp, SMS | Passive — visitors check when they want |
With Nurbak, you get both in one tool. The same health checks that power your internal monitoring dashboard also feed your public status page. One setup, two audiences.
Your monitoring dashboard shows the full picture — response time breakdowns, P50/P95/P99 latency, DNS resolution time, TLS handshake duration, and more. Your status page shows a curated, customer-friendly view of the same data.
Best Practices for Status Pages
A few guidelines to make your status page actually useful:
- Keep it honest — don't manually override statuses to hide incidents. Customers notice, and it destroys trust faster than the outage itself.
- Show individual endpoints — an aggregate "all systems go" status hides partial outages. If payments are down but search works fine, show that.
- Use a separate domain or provider — your status page should survive your infrastructure going down. Nurbak handles this automatically since the status page runs on independent infrastructure.
- Include a timeline — a 30-day uptime timeline helps customers evaluate your reliability over time, not just in this moment.
- Update frequently — stale data is worse than no data. Automated checks (like Nurbak's 1-5 minute intervals) keep the page always current.
FAQ
Can customers see detailed metrics?
No. The public status page shows a curated view: endpoint status (up/down), overall uptime percentage, a 30-day timeline, and the last check time. Detailed metrics like P95 latency, DNS resolution time, TLS handshake duration, and full response headers are only visible to authenticated project owners in the Nurbak dashboard.
How often does the status page update?
The status page always reflects the most recent health check result. Health checks run every 1 to 5 minutes depending on your plan, from multiple global regions. So the status page is always within minutes of real-time — no manual updates needed.
Is the public status page free?
Yes. Public status pages are included on every Nurbak plan, including the free tier. Each project gets its own unique shareable URL. There's no limit on the number of viewers, and no additional cost for embeddable badges.
Create Your Status Page Now
A public status page is one of the highest-leverage things you can add to your API. It builds trust, reduces support load, and shows customers you take reliability seriously — all with zero ongoing effort once set up.
With Nurbak, you can create a free public status page in under 3 minutes. Add your endpoints, enable the status page, and share the link. Your customers will thank you — especially the next time something goes wrong.
Get started for free — no credit card required.